Making slime has become a super popular activity for teens and tweens. What started as a simple toy sold in stores has now taken over social media platforms like YouTube and Instagram. People love sharing their slime recipes and videos, and it quickly became a worldwide trend. The videos made it irresistible to want to experience the squishy textures at home. It’s fun to experiment with different ingredients to create slime with various colors and textures. Making slime has become a popular sleepover party activity among teens and tweens. Here’s how you can make your own slime at home and join in on the fun!
Slime Recipes
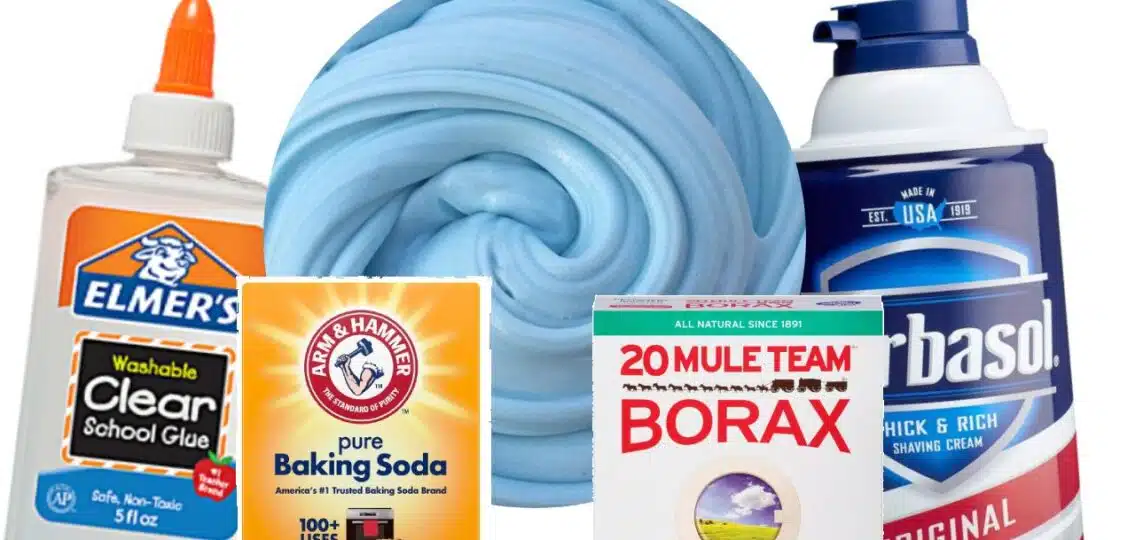
Most slime recipes include a few basic ingredients that create the stretchy, gooey substance we all enjoy. The main ingredient is usually white school glue or clear glue, which serves as the base. To turn the glue into slime, you need an activator. Common activators include contact lens solution, which contains boric acid and sodium borate, borax powder dissolved in water, or liquid starch. Water is often added to the glue to help achieve the desired consistency. Baking soda is used in some recipes to thicken the slime and improve its texture.
Optional additives like food coloring, glitter, shaving cream, foam beads, and scented oils can make the slime more fun and visually appealing. These ingredients can be mixed and matched to create various types of slime, from stretchy and fluffy to crunchy and colorful.
How to Make Classic Slime
Step 1: Gather Your Materials
- 1/2 cup of white school glue
- 1/2 cup of water
- 1/2 teaspoon of baking soda
- 1 tablespoon of contact lens solution (ensure it contains boric acid and sodium borate)
- Food coloring (optional)
- Glitter (optional)
Step 2: Mix Glue and Water
Pour 1/2 cup of white school glue into a bowl. Add 1/2 cup of water and stir until the glue is fully diluted.
Step 3: Add Baking Soda
Add 1/2 teaspoon of baking soda to the mixture and stir well. This helps to thicken the slime.
Step 4: Add Color and Glitter (Optional)
If you want colorful slime, add a few drops of food coloring and mix until the color is evenly distributed. You can also add glitter for some extra sparkle.
Step 5: Add Contact Lens Solution
Add 1 tablespoon of contact lens solution to the mixture. Stir thoroughly. The slime will start to form and become sticky.
Step 6: Knead
Once the slime begins to form, use your hands to knead it. It may be sticky at first, but keep kneading until it becomes smooth and stretchy. If the slime is too sticky, add a few more drops of contact lens solution.
Step 7: Play and Store
Your slime is now ready to play with! When you’re finished, store the slime in an airtight container to prevent it from drying out.
Step-by-Step Tutorial to Make Fluffy Slime
Fluffy slime is the term used to describe slime that is squishy, but also more lightweight. The end result is like a cloud and makes for a unique slime experience.
Step 1: Gather Your Materials
- 1/2 cup of white school glue
- 3 cups of shaving cream
- 1/2 teaspoon of baking soda
- 1 tablespoon of contact lens solution (ensure it contains boric acid and sodium borate)
- Food coloring (optional)
Step 2: Mix Glue and Shaving Cream
Pour 1/2 cup of white school glue into a bowl. Add 3 cups of shaving cream and stir until the mixture is well combined.
Step 3: Add Baking Soda
Add 1/2 teaspoon of baking soda to the mixture and stir thoroughly. This helps to thicken the slime.
Step 4: Add Color (Optional)
If you want colorful fluffy slime, add a few drops of food coloring and mix until the color is evenly distributed. Don’t add too much at once. You can always add more, but you can’t take it out!
Step 5: Add Contact Lens Solution
Add 1 tablespoon of contact lens solution to the mixture. Stir well. The slime will begin to form and become sticky.
Step 6: Knead
Once the slime starts to form, use your hands to knead it. It may be sticky at first, but keep kneading until it becomes smooth and fluffy. If the slime is too sticky, add a few more drops of contact lens solution.
Step 7: Play and Store
Your fluffy slime is now ready to play with! When you’re finished, store the slime in an airtight container to keep it from drying out.
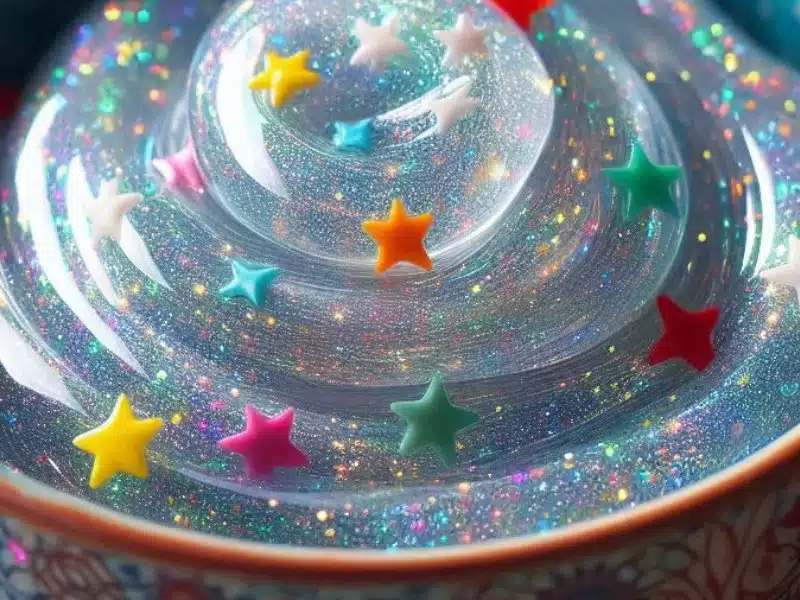
How to Make Clear Slime
Step 1: Gather Your Materials
- 1/2 cup of clear school glue
- 1/2 cup of water
- 1/2 teaspoon of baking soda
- 1 tablespoon of contact lens solution (ensure it contains boric acid and sodium borate)
- Glitter or small beads (optional)
Step 2: Mix Glue and Water
Pour 1/2 cup of clear school glue into a bowl. Add 1/2 cup of water and stir until the glue is fully diluted.
Step 3: Add Baking Soda
Add 1/2 teaspoon of baking soda to the mixture and stir well. This will help the slime to thicken.
Step 4: Add Glitter or Beads (Optional)
If you want to add some sparkle or texture to your clear slime, mix in some glitter or small beads until they are evenly distributed.
Step 5: Add Contact Lens Solution
Add 1 tablespoon of contact lens solution to the mixture. Stir thoroughly. The slime will begin to form and become sticky.
Step 6: Knead
Once the slime starts to form, use your hands to knead it. It might be sticky at first, but keep kneading until it becomes smooth and clear. If the slime is too sticky, add a few more drops of contact lens solution.
Step 7: Let the Slime Rest
To achieve maximum clarity, let the slime rest in an airtight container for a few days. This allows any air bubbles to escape and the slime to become completely clear.
Step 8: Play and Store
Your clear slime is now ready to play with! Store the slime in an airtight container when you’re done to prevent it from drying out.
3-Ingredient Slime Recipe
Looking for the easiest solution? It doesn’t get any easier than this 3-ingredient slime recipe!
Step 1: Gather Your Materials
- 1/2 cup of white school glue
- 1/2 teaspoon of baking soda
- 1 tablespoon of contact lens solution (make sure it contains boric acid and sodium borate)
Step 2: Mix Glue and Baking Soda
Pour 1/2 cup of white school glue into a bowl. Add 1/2 teaspoon of baking soda and stir until it is well mixed. The baking soda helps to thicken the slime.
Step 3: Add Contact Lens Solution
Add 1 tablespoon of contact lens solution to the glue mixture. Stir well. The slime will start to form and become sticky. If it’s too sticky, you can add a few more drops of contact lens solution.
Step 4: Knead the Slime
Once the slime starts to come together, use your hands to knead it. Keep kneading until the slime becomes smooth and stretchy. This might take a few minutes.
Step 5: Play and Store
Your 3-ingredient slime is now ready to play with! When you’re done, store the slime in an airtight container to keep it from drying out.
Is Slime Safe to Make?
Slime can be safe to make and play with if you follow some important safety tips. Most store-bought glues and household ingredients used in slime recipes are non-toxic, but it’s important to check labels and use only products that are safe for teens. Be careful to keep slime and its ingredients away from eyes, as this can cause irritation. It’s also a good idea to have good ventilation to avoid inhaling any fumes from ingredients like glue or contact lens solution. Store slime in an airtight container when not in use to prevent it from drying out and to keep it away from pets and younger siblings who might try to eat it.
This is a great opportunity to introduce your children to chemistry and have them understand the reactions taking place. All in all, slime can be safe as long as you are careful about the ingredients you use to make it and keep it away from eyes and mouth.


