
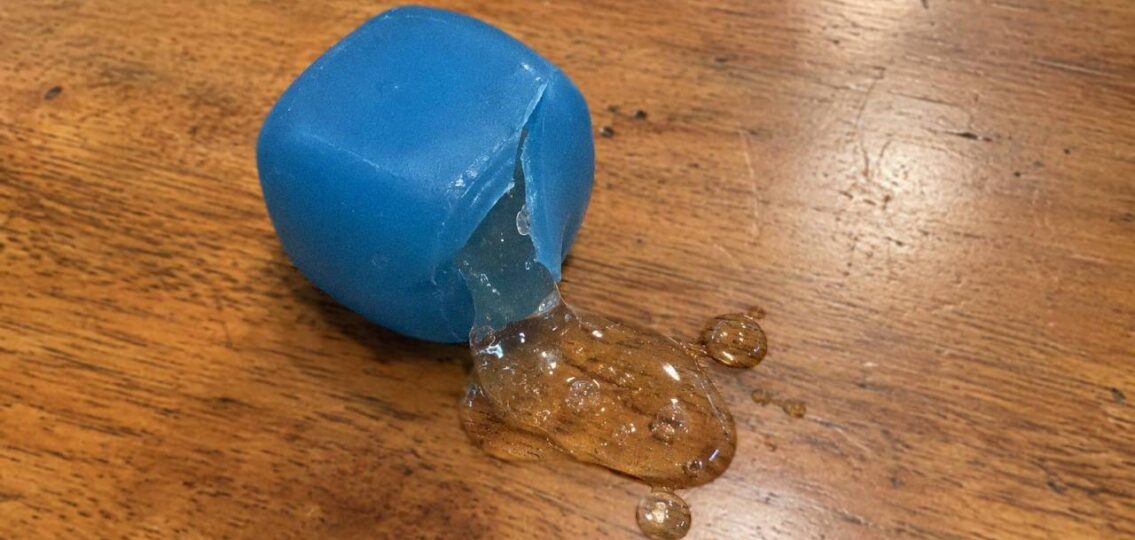
NeeDohs are designed to be squeezed, stretched, tossed around, and carried everywhere, so eventually, some break. Tiny leaks and tears are common, especially with the amount of use many tweens and teens get out of them. Before throwing a broken NeeDoh away, though, there are a few repair methods people swear by.
Why NeeDohs Break
The constant squeezing and stretching of a NeeDoh eventually leads to tears or leaks. Temperature exposure, overuse, and rough play can also cause damage. Some kids even poke holes in theirs just to try different ways to repair a NeeDoh.
Can You Actually Fix a NeeDoh?
Sometimes you can fix a NeeDoh, but it really depends on how bad the tear or leak is. Some fixes are temporary, while some seem to last much longer. If it keeps ripping in the same spot, it might be time to throw it away and get a new one.
How to Fix a Small NeeDoh Leak
There are a few different ways to repair a NeeDoh leak, but start by washing and drying your hands and clearing your area. Below, you will find various different repair methods that use materials you likely already have at home. Go through the guides and see which will work in your situation!
Fixing a Broken NeeDoh With Nail Polish
A small tear on a NeeDoh can sometimes be fixed by applying nail polish to the leaking area. Pick any nail polish, apply a layer to the leaking area, and allow it to fully dry before squeezing it again. This method is most likely to work if your NeeDoh has a very small tear. It’s a great first method to try because you probably already have nail polish at home!
Using Soap to Fix a Broken NeeDoh
Get your NeeDoh wet and apply soap. Rub the soap all over, then rinse it off. Set the NeeDoh on a paper towel and let it air dry. Some people believe this can temporarily help seal tiny leaks.
Fixing a Leaking NeeDoh With Nail Glue
Nail glue has turned out to be a successful way to repair broken NeeDohs. Apply the glue to the leaking area and allow it to dry fully. My kids swear by this method, and it seems to work for all types of NeeDohs.
Using Silicone Glue to Fix a NeeDoh
If the seam on your NeeDoh fails, you can use silicone glue to fill the leaking spot. After applying, leave it alone for 24 hours. If you’ve done recent home DIY projects, there is a pretty decent chance that you already have silicone glue at home. This stuff is very strong, so there is a pretty good chance it’ll patch the tears!
What Not to Do to Fix a NeeDoh
Don’t do anything that could cause a temperature change in your NeeDoh, such as microwaving or freezing them, and don’t use super hot water. You also should avoid overfilling or cutting them open. Additionally, be very careful when using chemicals such as nail polish or glues. You don’t want to get anything in your eyes or skin. Make sure you use proper safety equipment such as latex gloves or goggles before trying this out.
When It’s Time to Replace It
Sometimes it’s just best to accept that it’s time to get rid of a NeeDoh. If it has mold, smells weird, or has a hardened texture, it may be time to put it in the trash. If the leak or tear is major, or you’ve fixed it multiple times and it keeps leaking, it’s time to replace it. You should also take into consideration what happened that broke the NeeDoh cube in the first place. If it broke after being left in a hot car for too long, or it was punctures with something sharp, try to remember so you can avoid doing that in the future. We wish you the best of luck fixing your NeeDohs!